Gadwin PrintScreen Blows Snipping Tool Away
In a previous article (Snipping Tool Vs. Print Screen), I mentioned how helpful screenshots can be to a technical support query to illustrate the problem you’re having, and also how two functions in Windows – the Print Screen key and the Snipping Tool – provide such help. I explained why I prefer using the Print Screen key, but I’ve found an even better option called Gadwin PrintScreen (the free version).
In the past when I used the ordinary Print Screen key to take a screenshot, I had to open up a graphics program (MSPaint is simple and fast enough), paste the screenshot in, and save it to a specified location as a specified file-type. And I had to do all these steps one screenshot at a time. I also used to play a lot of computer games and enjoyed sharing pictures of those with friends. It wasn’t always easy capturing the moment at the perfect time.
With Gadwin PrintScreen, I can press Print Screen and my screenshot automatically saves just the way I want it where I want it. I can even press it repeatedly to capture the exact desired moment. In today’s computer tech tip, we’re going to install Gadwin PrintScreen and adjust the settings so we can move past old or inferior methods of taking screenshots once and for all.
Step 1: Downloading
Gadwin PrintScreen (freeware) can be downloaded directly from their website as the last item on their Downloads page. Although the page says the download link is for version 4.6 and has a size of 4.04 MB, it actually links to version 4.7, which is 4.06 MB. The compressed download (the “Zip-Archive”) is a little smaller and only contains the executable setup file.
The program works on Windows 8/7/Vista and even Windows XP if you have Service Pack 2 or higher installed.
Step 2: Installation
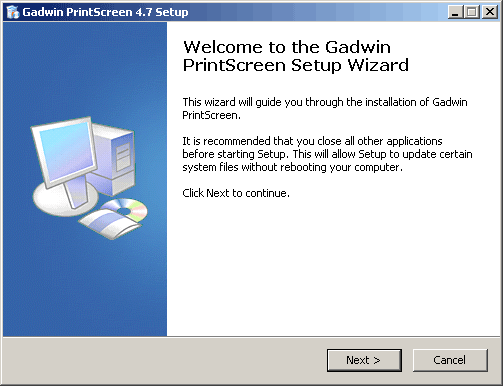
At the time of this article, the installation wizard is basic and straightforward. It doesn’t try to install “crapware” like browser toolbars, which is the reason why I publish installation guides such as this in the first place.
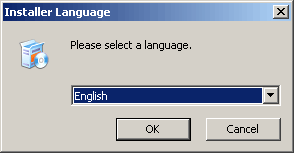
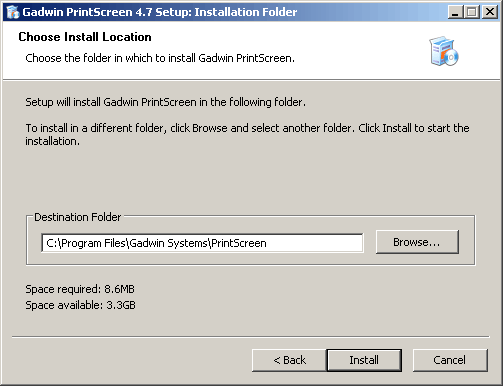
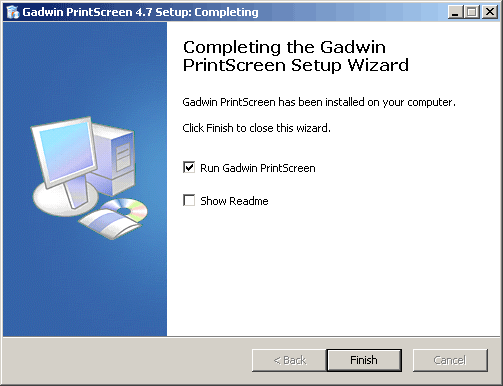
Select your language and read the End User License Agreement, then select the installation location and that’s it. It only takes a moment to install and you can choose not to view the Readme file afterward.

Step 3: Configuration
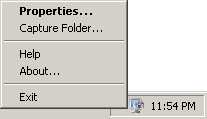
Right-click the new icon in the Notification Area (it’s near the clock) and open up the Properties. This context menu also has a quick link to the Captures Folder, which is the default folder all screenshots by this program save to, but we’ll check that in a bit.
On the Preferences menu, you can adjust from many combinations of Function keys with Alt/Control/Shift, but, by default, the Print Screen key alone works to take screenshots. You can set a delay in seconds between pressing the key and when the screenshot is taken. If you plan to take a lot of screenshots, I suggest you disable the following options. The intent is an automatic process, so there is no need for notifications and previews.
- Hide icon when capturing
- Show notification messages
- Preview the captured image
- Show splash on startup (A splash screen is typically a logo that appears momentarily before the program opens up.)
You can also disable the option to start this program automatically when Windows starts up. Having too many programs start up with Windows will slow down the process. As a personal preference, I rarely setup any programs besides security software to startup automatically.

On the Source menu, you can adjust what exactly is being included in the screenshot. If you’re like me, you probably want to stick with the Full Screen capture area. Capturing the mouse pointer can be helpful when explaining to someone where to click on a screen, so I adjust that option on a case-by-case basis. An ordinary screenshot won’t include the mouse pointer, but you may find it helpful to include at times.

| %user | Login of current user, who is using the program |
| %comp | The name of the computer in the network, that launched the program |
| %a | Abbreviated weekday name |
| %A | Full weekday name |
| %b | Abbreviated month name |
| %B | Full month name |
| %c | Date and time representation appropriate for locale |
| %d | Day of month as decimal number (01 – 31) |
| %H | Hour in 24-hour format (00 – 23) |
| %I | Hour in 12-hour format (01 – 12) |
| %j | Day of year as decimal number (001 – 366) |
| %m | Month as decimal number (01 – 12) |
| %M | Minute as decimal number (00 – 59) |
| %p | Current locale’s A.M./P.M. indicator for 12-hour clock |
| %S | Second as decimal number (00 – 59) |
| %U | Week of year as decimal number, with Sunday as first day of week (00 – 53) |
| %w | Weekday as decimal number (0 – 6; Sunday is 0) |
| %W | Week of year as decimal number, with Monday as first day of week (00 – 53) |
| %x | Date representation for current locale |
| %X | Time representation for current locale |
| %y | Year without century, as decimal number (00 – 99) |
| %Y | Year with century, as decimal number |
| %z, %Z | Time-zone name or abbreviation; no characters if time zone is unknown |
Examples:
| ScreenShot of %user | ScreenShot of joseph.bmp |
| ScreenShot %m-%d-%y | ScreenShot 07-28-02.bmp |
| My Desktop %c | My Desktop 07-28-02 06;55;12.bmp |
| AppWindow %I;%M %p | AppWindow 06;57 AM .bmp |
Characters that are always invalid for directory or file names (a restriction of Microsoft Windows):
- Characters in the (decimal) range 0 through 31
- Less-than ( ), greater-than ( > ), double quotation mark ( “ ), pipe ( | )
- Drive separator: colon( : )
- Directory separators: slash ( / ) and back slash ( \ )
- Wild characters: question mark ( ? ) and asterisk ( * )

The Image menu is the last important menu and includes the last of the automated settings. You can adjust the default file-type, automatic picture resizing, automatic Grayscale or shadows, and even include a timestamp. I prefer PNG files over the default set BMP files because the quality is still high, but the file-size is much lower. A graphics professional will argue a different option, so use whichever works well enough for you. The other automatic settings don’t need to be set because you’ll likely want to adjust your screenshots in a more complex graphics program later. Nonetheless, the automatic options are there if they suit your needs.

Optional: Command Line Arguments
Some folks prefer typing Command Line arguments instead of using the graphical-user interface, so the program’s developers designed the program to accept the following commands. There is a lot of them, so you can reveal them by clicking below.
There you have it – an awesome, free alternative to the Snipping Tool and the old method of saving screenshots manually.
FeaturedImg courtesy of gadwin.com