Add Watermark To Word Document
Watermarks are a great way to show ownership (especially on graphics) because they aren’t easily removed. They can be used in documents to subtly inform the reader that the document is important, private, or a sample work. Sometimes, they are even used for advertisement purposes like a logo or website, although this is more common for graphics, not Word documents. In this computer tech tip, I’ll be showing you how to add a watermark to a Microsoft Office 2007 or 2010 Word document.
Watermark Options
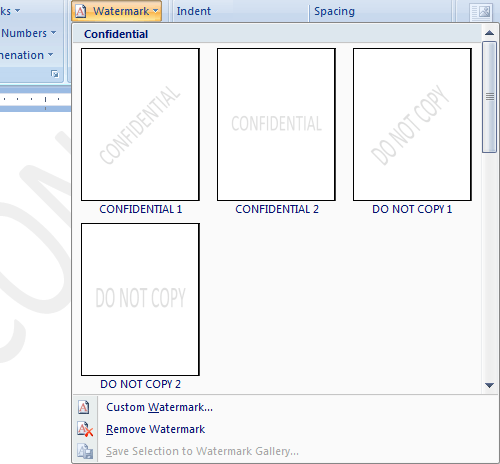
On the Page Layout tab of the Office ribbon, within the Page Background section, you will find the Watermark button.

There are 12 preset watermarks to choose from spanning three categories: Confidential, Disclaimers, and Urgent. The samples also come in two layouts: Horizontal and Diagonal. In order to use a preset watermark, just click one and it will immediately appear as the background of your Word document on all pages.
Custom Watermark
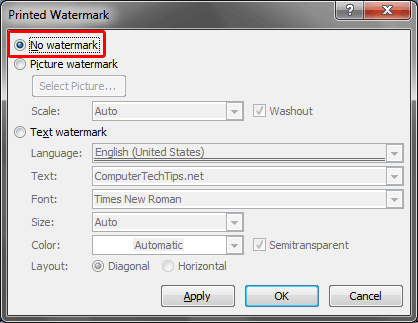
You can create your own text or graphic watermark by clicking the Custom Watermark button. A window will pop-up with the tools to create your own watermark.
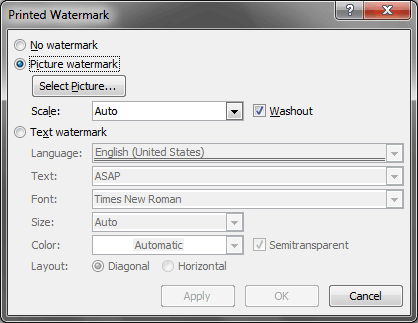
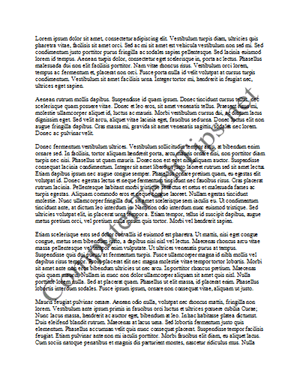
Image from previous article I wrote:
Instant Sample Text
For a picture watermark, you select the image you want to use, set the scale for how zoomed in the image will appear (“Auto” extends to the page margins), and select the transparency level. “Washout” enabled makes the image very opaque while “Washout” disabled is more mildly opaque.
The options for creating a text watermark are all those you would expect from such a tool. You can set the font type, size, color, transparency level and the layout (horizontal/diagonal) along with your custom text. Here is an example I whipped up with an exaggerated dark color to better illustrate for the screen shot.
Unfortunately, there does not seem to be an easy way to save your custom watermark (at least not in Word 2007). There is a way, but it’s a bit more complicated than I anticipated, so I’ll leave that for a future article.
Remove Watermark
Removing a watermark can be done two ways:
- Click the Remove Watermark button from within the Watermark drop-down menu.
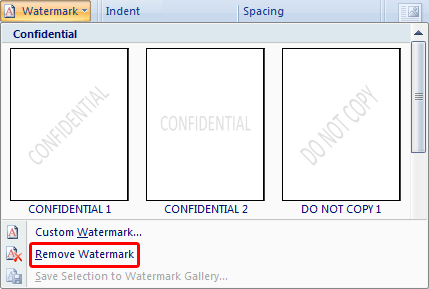
- From the Custom Watermark window, select the No Watermark radio button, and then the Apply button to make the adjustment.
Recent Comments