Using WampServer 2 For Local Web Development
By Xps. 3 Comments
WampServer is a server environment that runs locally on your computer. It allows you to create web applications with Apache, MySQL, and PHP on a Windows computer. It also comes with phpMyAdmin to manage database information just as you would on your web host’s server.
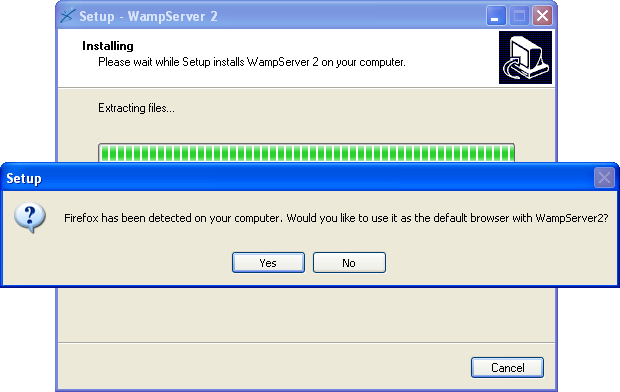
Installing WampServer is pretty straight forward. Download WampServer 2 and begin the installation wizard. Accept the license agreement (GNU General Public License 2), choose the installation location, optionally create shortcut icons, and continue the installation. After the files are extracted, you’ll be asked if your system’s default web browser can also be set as WampServer’s default too.
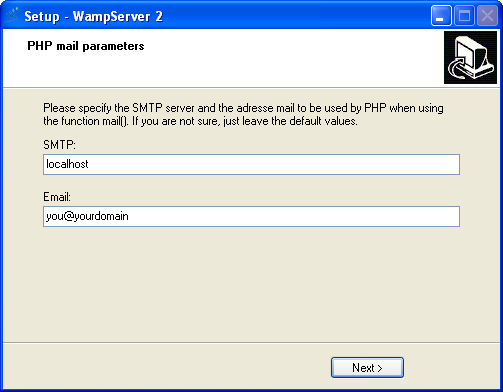
The default settings for the PHP mail parameters should be adequate unless you have a reason to change them.
When WampServer is running, you can see the icon in the notification area of the taskbar.

Right-clicking the icon will give the basic Help & About information. Left-clicking the icon is where all the action is.
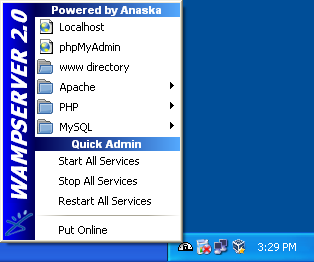
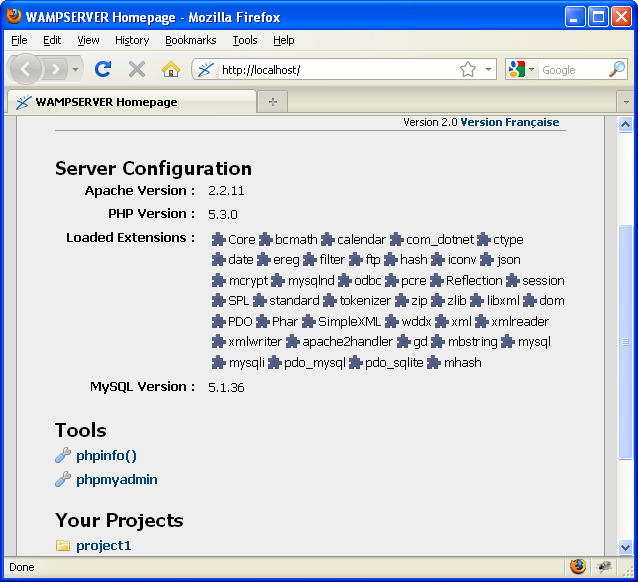
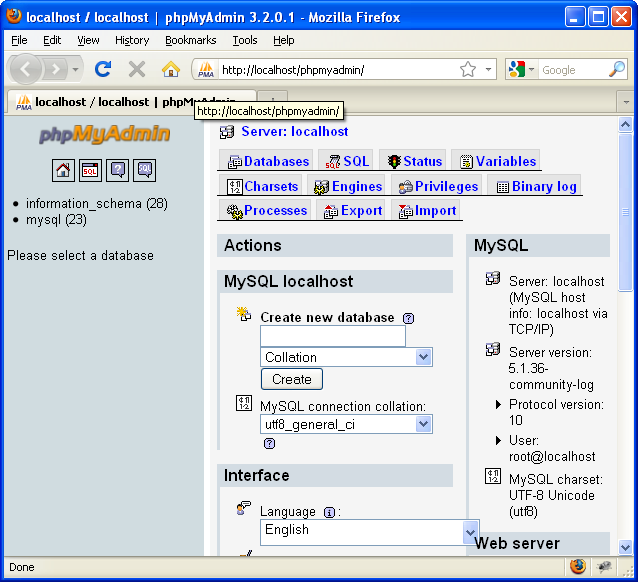
Clicking the Localhost item will open your web browser to the WampServer localhost web page. Notice the web address. From there, you can open up phpMyAdmin or a project you’re working on.
Back to the WampServer notification icon, the phpMyAdmin item is a shortcut to that application in WampServer, just like it is on a real web host. phpMyAdmin allows you to create and manipulate MySQL databases.
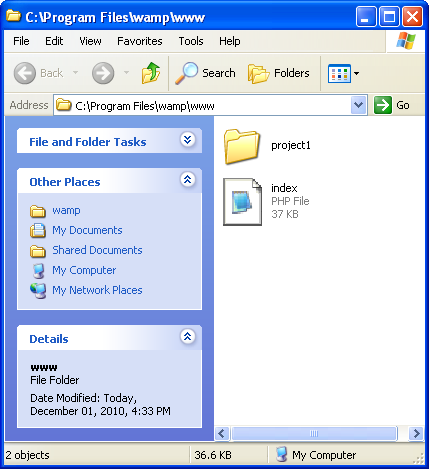
The “www directory” item will open up a Windows Explorer window to WampServer’s www folder. Notice the address. To Windows, the website is located in C:\Program Files\wamp\www\ but to WampServer and an actual web server, the website is located at http://localhost/ . So, if you created a project called project1, locally it would be at C:\Program Files\wamp\www\project1\ and on the web server it would be located at http://localhost/project1/ . Keep this in mind when you link images, scripts, and other pages on your website. Always use the web server’s address.
WampServer’s notification icon also allows you to change settings for Apache, PHP, and MySQL. You can enable modules, settings, and extensions. You can upgrade versions of these services on WampServer. You can even access the error logs, something that will prove to be helpful over time.

If you’re making changes to the Apache or MySQL services, you can stop, start, or restart the services via the Quick Admin tools in WampServer’s notification icon, and the icon itself will change colors depending on the status. If the icon is red, both services — and effectively the server itself — are offline. If the icon is yellow, one of the two services is offline. If the icon is white, both services are online and all is good to go.

That’s the basics of WampServer 2. Now you can create and test your website locally without affecting your actual online website. Don’t forget — always use the web server’s address, not the Windows Explorer address.
Comments (3)
-
That’s a useful start XPS. My empty bit of knowlegde is how you actually get the files into the wamp environment? Any advice on that? The instruction is probably staring me in the face, but I’m just not getting it at the moment. Any help appreciated
-
Hi Ray. Thanks for the comment. Inside the WAMP program files folder is a folder called “www”. You’ll want to create a sub-directory in there for each of your projects. For example, I have a test WordPress environment located at C:\Program Files\wamp\www\wordpress\ and I access it through my web browser at http://localhost/wordpress/
You can quickly access the WWW folder and Localhost web page by left-clicking the WAMP icon in the notification area.
[…] button, and even the logo are good items to add. Don’t add images found in pages like the WampServer 2 guide or even the featured images shown on the homepage associated with each guide. Those images […]